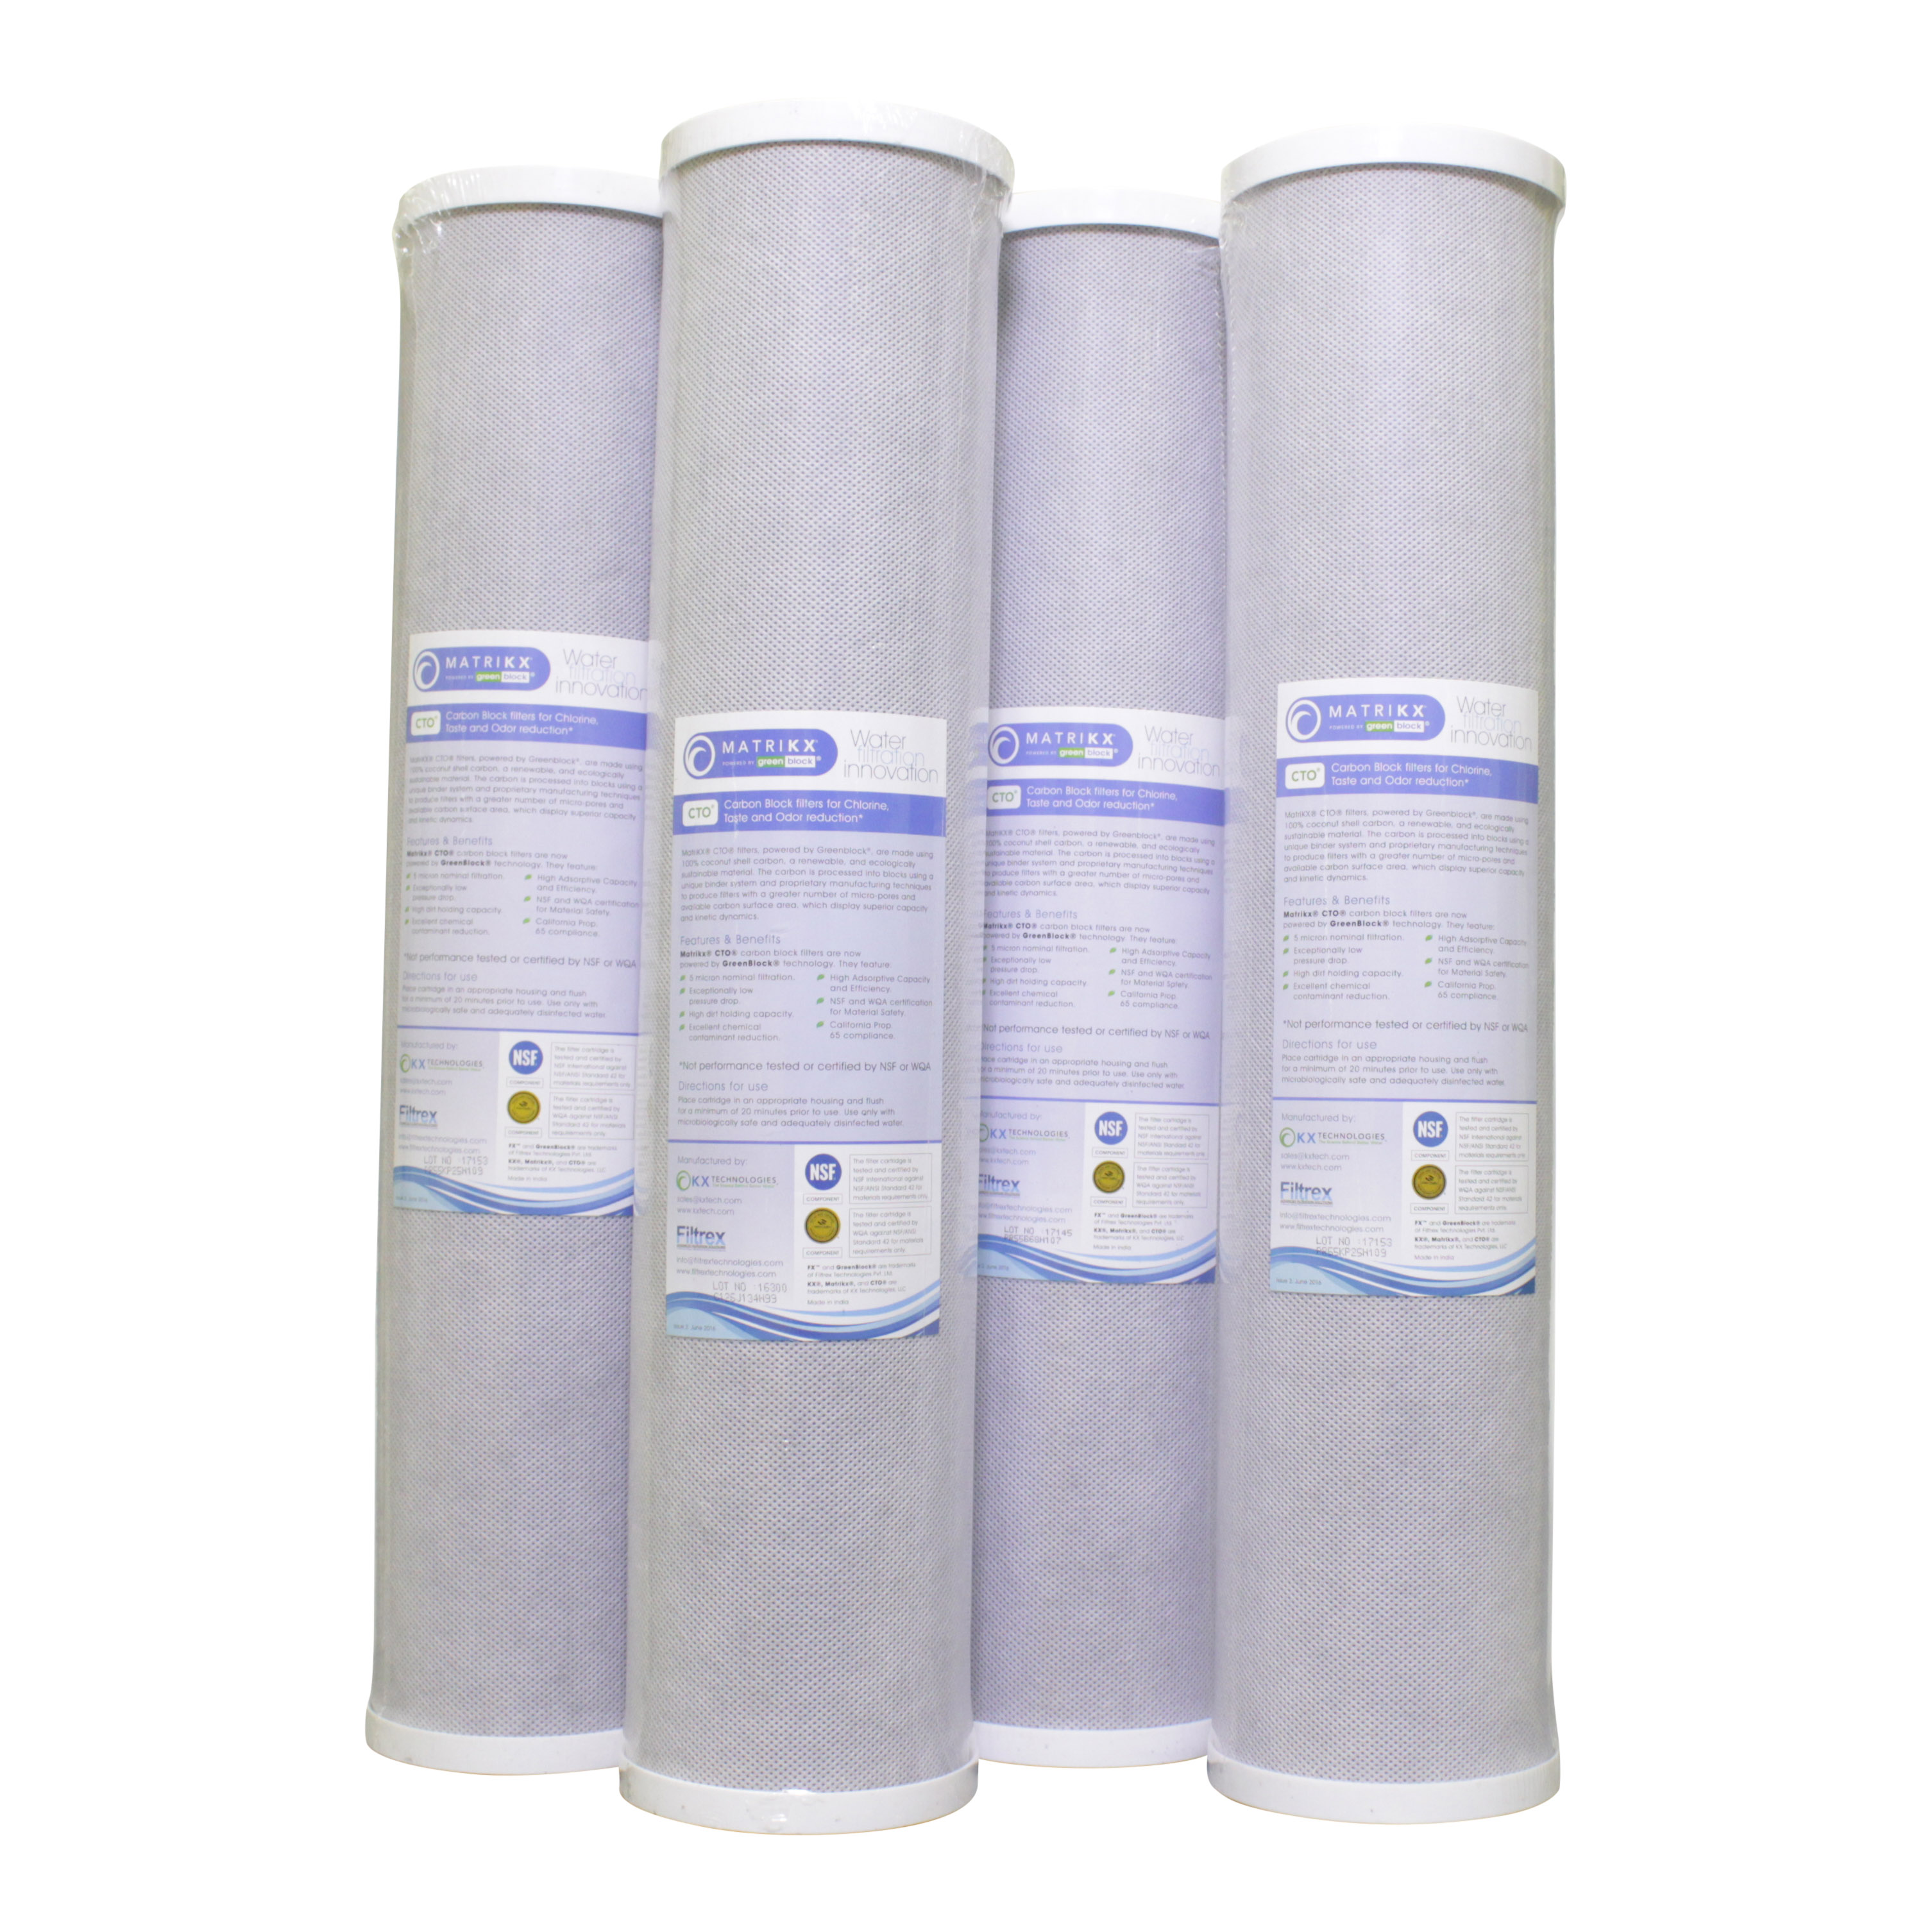
How to Change a Whole House Carbon Water Filter
1) You should replace a whole house carbon water filter cartridge whenever your water flow slows down in your house or after one year of use, whatever happens first. You definitely don’t want bacteria growing inside that filter! Be sure to prepare a a bucket of clean soapy water ahead of time as once you open the filter housing you probably won’t have access to your water until you’re finished.
2) Turn off your water supply. You probably have a shutoff on the water line before the filter. If not, turn the pump off.
3) Release the water pressure on the lines by opening a faucet before you unscrew the housing that holds the water filter. Then shut off the water after the filter housing to keep all of the water from the house from draining back.
4) Place a bucket under the filter housing to catch excess water. Unscrew the housing and remove it.
5) Remove the old filter and clean out the inside of the housing with soapy water. Put some clear plumbers silicone grease on the O-ring, which will help preserve the O-ring, make it seal better and make it easier to remove the next time. Unwrap and put the new filter in the housing and screw the housing in place, slightly more than hand tight.
6) Turn the faucet off that you had running to release the pressure. Turn the main water supply back on, slowly. Check for leaks from the cartridge housing.
7) Flush new filter with at least 3 or 4 gallons of water, until the water flowing after the filter is clear.