
How to Remineralize Your Reverse Osmosis Drinking Water System in 5 Easy Steps!
Reverse Osmosis (RO) drinking water systems remove 90% or more of the mineral content and contaminants from your drinking water, resulting in super pure-tasting water. It’s the best method for purifying drinking water in your home and the #1 choice for most families who want to conquer crappy water!
Those who choose an RO system for their home typically install one because they want to remove contaminants from their drinking water, such as chemicals, sediment, heavy metals, and microorganisms. They also want unlimited, great-tasting, drinking water on tap! An RO system definitely removes all these yucky things from your drinking water; it also removes minerals from your water source, such as calcium, magnesium, potassium, and iron.
 The World Health Organization (WHO) has shared that the majority of minerals required for the human body come from food or dietary supplementary sources and NOT from drinking tap water. Depending on your preferences, however, you may wish to have a slightly higher pH content for the water in your home. Since mineral ions contribute to water alkalinity, you may want to have some of the minerals that your RO system removed — such as calcium — added back into your drinking water.
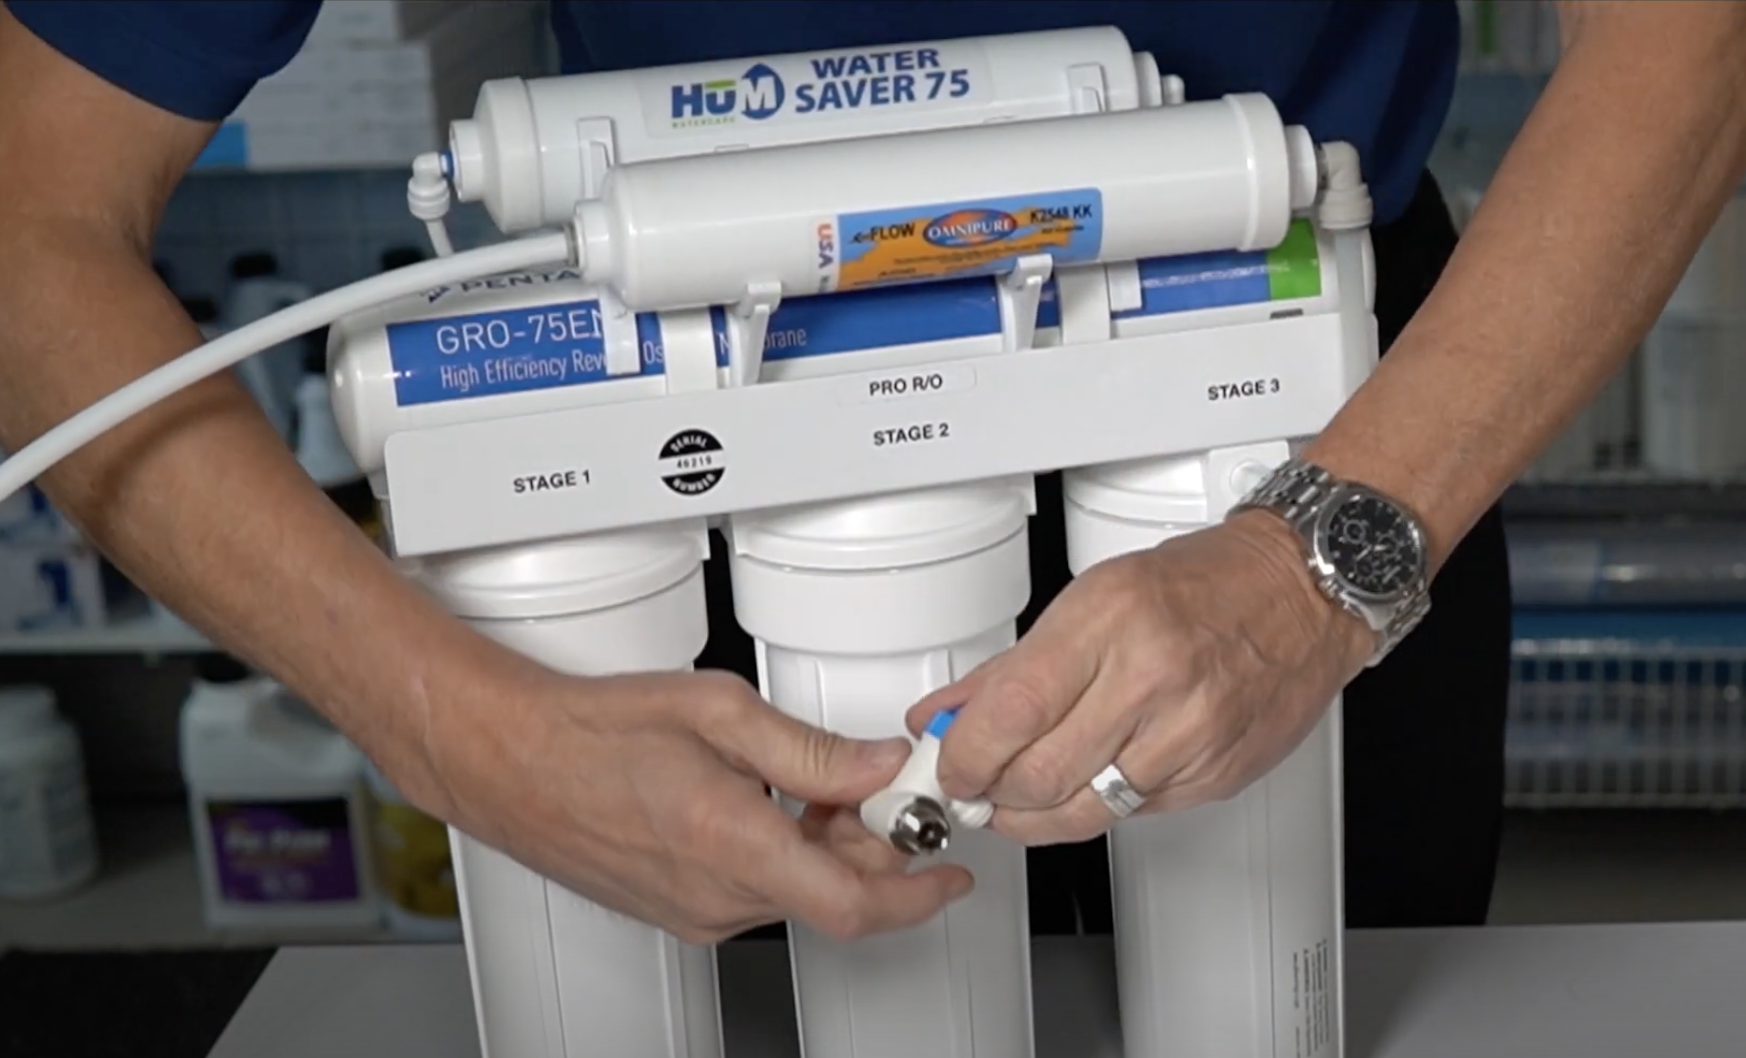
If you’re looking for a way to remineralize your RO water, I’ve put together this kit to make it super easy for you to add remineralization to our great HUM Water Saver 75 Reverse Osmosis drinking water system. The kit consists of the filter, 2 clips, some tubing, and a couple of fittings. Using this kit in my own home, our water pH went from 6.0 to 6.6, and the mineral content rose from 18 ppm to 61 ppm.
Order your own kit right here!
When you have your kit ready, here’s how you can remineralize your Reverse Osmosis water in 5 easy steps:
- Shut off the water and tank by turning the valve 90 degrees, and release the pressure at the faucet.
- Disconnect the water line going to the faucet. Not sure how? Check out this video on using quick-connect fittings!
- Thread fittings into each end of filters, being careful to thread the correct filter into each end.
- Add clips to the membrane to hold the remineralization filter in place. Clip-in the filter.
- Slip tubing into the fittings, turn on the water, and test for leaks.
Once you have water flowing, allow it to run for about 5 gallons or so to clear the calcite filter, and then you’re good to go!
Since we’re talking Reverse Osmosis drinking water systems, click here to see my full YouTube video playlist on the topic for more great tips and tricks from #GaryTheWaterGuy!