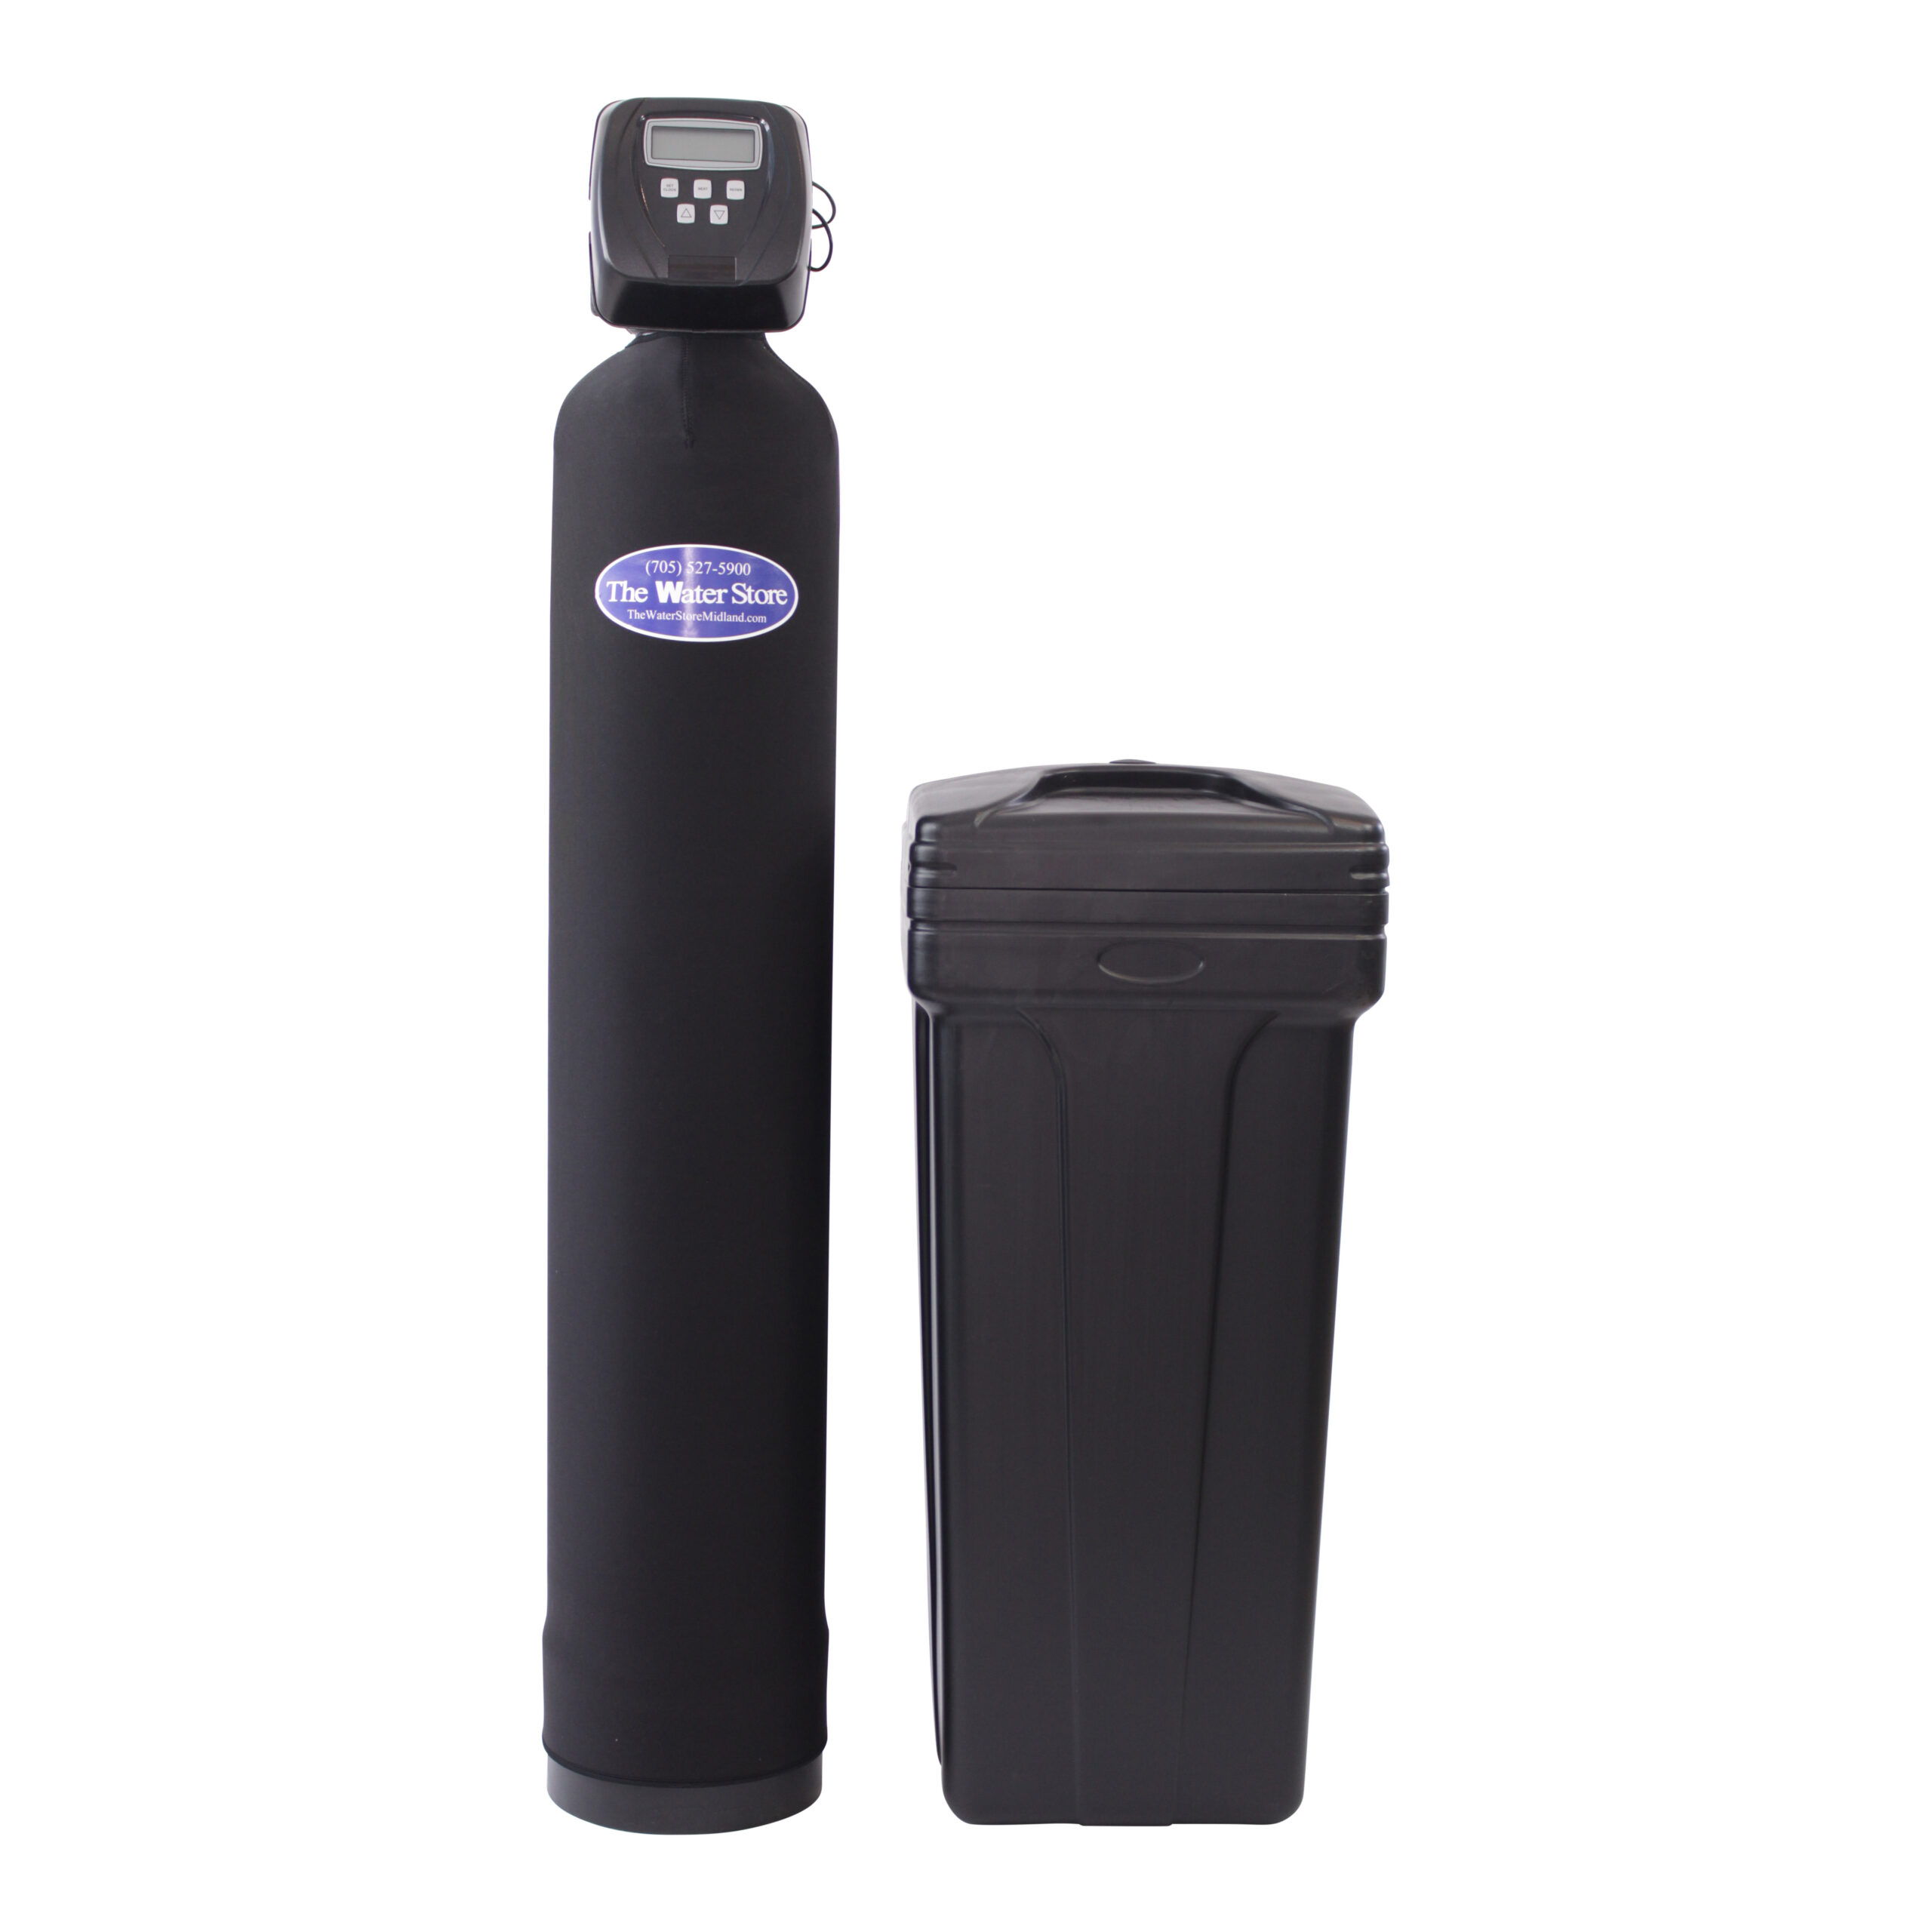
How to Winterize Your Water Softener in 10 Simple Steps
Are you planning on shutting off the heat to your home or cottage for the winter? If so, check out Gary The Water Guy’s pro tips and tricks on how to winterize your water softener correctly so it won’t freeze and burst.
If you have a water softener at your home, cabin, or cottage, you may already know that there is no way to protect these systems from the damage caused by freezing without properly draining and storing them. Years ago it was believed that you needed to physically remove the units and store them in a warm place during subzero climates. However, that is not the case any longer.
TIP: You may want to check out one of my other videos here on how these systems work before proceeding, so you have a good understanding of why each step needs to be carried out accordingly.
Winterizing your water softener is actually pretty simple to do if you have a unit that’s easy to bypass and disconnect like the Clack WS1 valves. Just follow these 10 simple steps to properly drain your water softener and it will stay safe and dry all winter long!
Ready to winterize your water softener? Let’s begin…
 Put the water softener into a regeneration cycle (REGEN) by pushing and holding the button down for 5 seconds, and wait until you hear the unit backwashing water to the drain. Bypass the unit; this will release all of the pressure inside the unit.
- Advance the water softener through all of the regeneration cycles by pushing REGEN again until it gets back to the service or home position (showing the current time).
- Unplug and disconnect the drain line, but be ready to catch some water flowing back from the drain line especially if it drains overhead!
- Shut off the water from the pump and disconnect the water softener inlet and outlet from the household plumbing — again, be prepared to catch any water that will leak out!
- Disconnect the brine line (the smaller tubing going to the brine tank) from the water softener and hold down to drain.
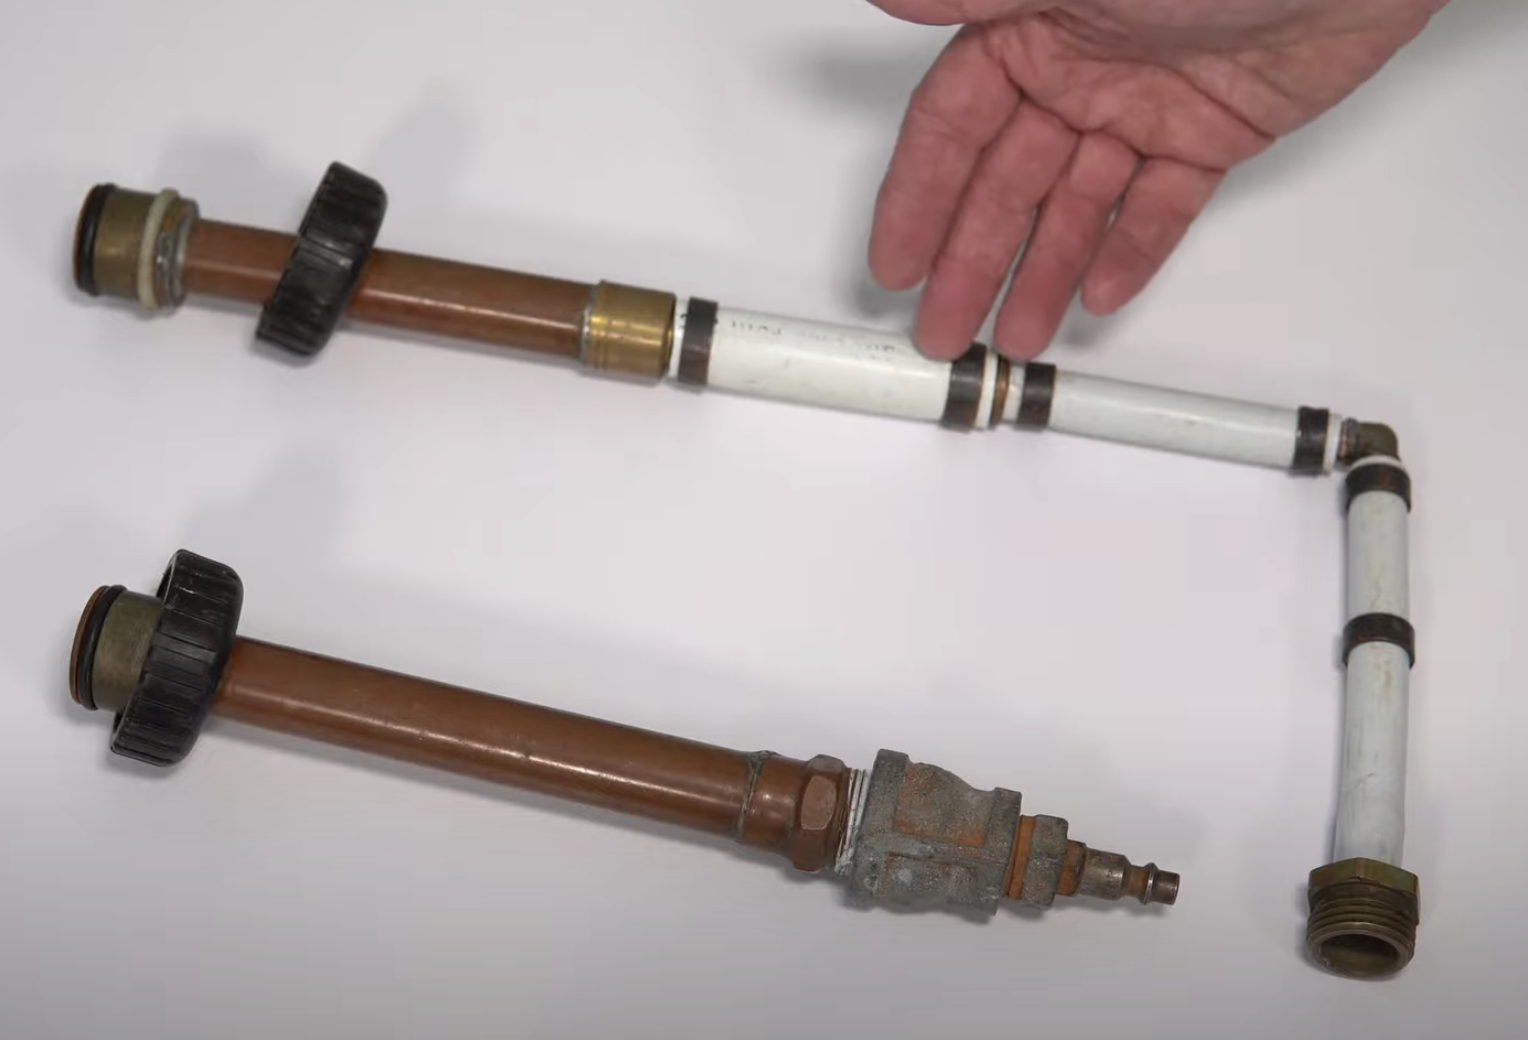
- You can either put together a series of fittings as shown in the image below to blow out the water softener with a compressor or you can lean the softener tank over a bucket to remove as much of the water that will flow out. Lay it down until it drains completely. PRO TIP: You might need to lift the bottom of the unit higher than the top to get all of the water out, and this can get quite messy. Be prepared!
 Unscrew the injector cover and drain the water, wipe it dry with a paper towel or rag so water doesn’t expand in there, and crack the cap when temperatures drop. Replace the cap.
- For winterizing the brine tank, ideally, you’d like to time it so the salt level is extremely low and there is absolutely no water above the salt level. If there is a little bit of water above the salt line, you can scoop it out.
- Plug holes with a clean rag to ensure no critters get in and leave the unit laying down on the floor for winter storage with open ends of valves down and a towel beneath it.
- Drain the rest of the household plumbing and be sure to open the bypass once all of the plumbing has drained.
Then when it comes time to reinstall your water softener in the Spring, simply reverse the steps above.
Once it is reassembled, bypass the softener before turning the water back on, then put the unit into backwash mode and slowly refill the water softener by partially opening the bypass inlet until you see water flowing to the drain from the drain line. Advance the valve through the regeneration cycles until you get to the service position. Open a faucet and let the water run to drain to remove air, etc. Check for leaks. Then start a complete regeneration cycle until finished and your water softener is back in service.
Looking for more tips and tricks on how to winterize your entire cottage? Check out my detailed video on Cottage Winterizing here!
For more information about our products, visit WaterStoreMidland.com or WaterEstore.com. And, if you liked what you saw today, be sure to subscribe to our YouTube channel for more great troubleshooting and maintenance tips and tricks from #GaryTheWaterGuy!
